Discussion Topic: how do you remove vinyl wrap from a car
Are you considering vinyl wrapping your car to give it a new look and protection from wear and tear? If so, you need to know how to properly remove the wrap when it’s time for a change. Removing vinyl wrap is an important process because if done incorrectly, it can actually damage the finish of your vehicle.
Thankfully, this guide will take you through all of the steps on How do you remove vinyl wrap from a car without damaging your car. Read on to learn more about this easy process!
Search terms: removing vinyl wrap after 5 years, how to remove sun baked vinyl wrap, How to remove vinyl wrap from car, how to remove vinyl wrap without heat gun, how to remove vinyl wrap kitchen, how to remove vinyl wrap from wood, how to remove car wrap at home, how to remove vinyl wrap from trailer
You need to prepare
- Heat Gun
- Plastic Razor Blade (We like Lil Chizlers)
- Adhesive Remover (We recommend 3M Adhesive Remover or Rapid Tac)
- Microfiber Towel
How do you remove vinyl wrap from a car
Removing a vehicle wrap may seem complex initially, but it’s actually easier than you imagine. Follow our straightforward 6-step guide for effortless vinyl car wrap removal.

Step 1: Setting Up Your Workspace
Begin by selecting a spacious, temperature-controlled environment such as a garage for this task. The condition of the vinyl can be adversely affected by extreme temperatures – it tends to become fragile and prone to breaking in cold conditions, whereas a warm sunny day can aid in the removal process by softening the vinyl.
Step 2: Conducting a Preliminary Test
Before fully engaging in the task, it’s wise to start by attempting to peel off a small section of the vinyl to assess its ease of removal. Follow the forthcoming instructions for a small test area first. If this initial attempt is successful and the vinyl comes off smoothly, you can confidently continue with the rest of the vehicle.
Should you encounter any difficulties during this preliminary test, such as the vinyl not peeling off easily or damaging the vehicle in the process, it may be time to seek professional help. Vehicle wrap specialists possess the necessary tools and expertise for safely removing stubborn vinyl without inflicting damage on your vehicle.
Common issues with vinyl wrap removal:
-Vinyl doesn’t come off easily with light or medium pulling: Wrap vinyl is made to not harm the paint below, but if you yank it off too hard, there’s a higher chance of hurting the paint or clearcoat. This is especially true if the paint is already in poor condition or isn’t original to the vehicle.
-Vinyl breaks into tiny pieces when removing: Facing this issue means you might have a tough time with the rest of the vehicle. Sometimes the cause is subpar vinyl quality or, in other instances, the vinyl’s old age or exposure to harsh environments (like a car hood under the relentless sun in Las Vegas). Professionals have specific chemicals and methods for these scenarios, yet it will still require a significant amount of meticulous work to get rid of it entirely and properly.
-A lot of sticky residue remains after removal: This often occurs with lower quality or generic vinyl materials. Higher quality vinyl tends to peel off more neatly and cleanly. In some scenarios, adjusting the film’s surface temperature during removal can minimize residue, but always remember to peel the vinyl at sharp angles rather than pulling it straight up, to avoid damage to the vehicle.
Step 3: Gently Apply Heat
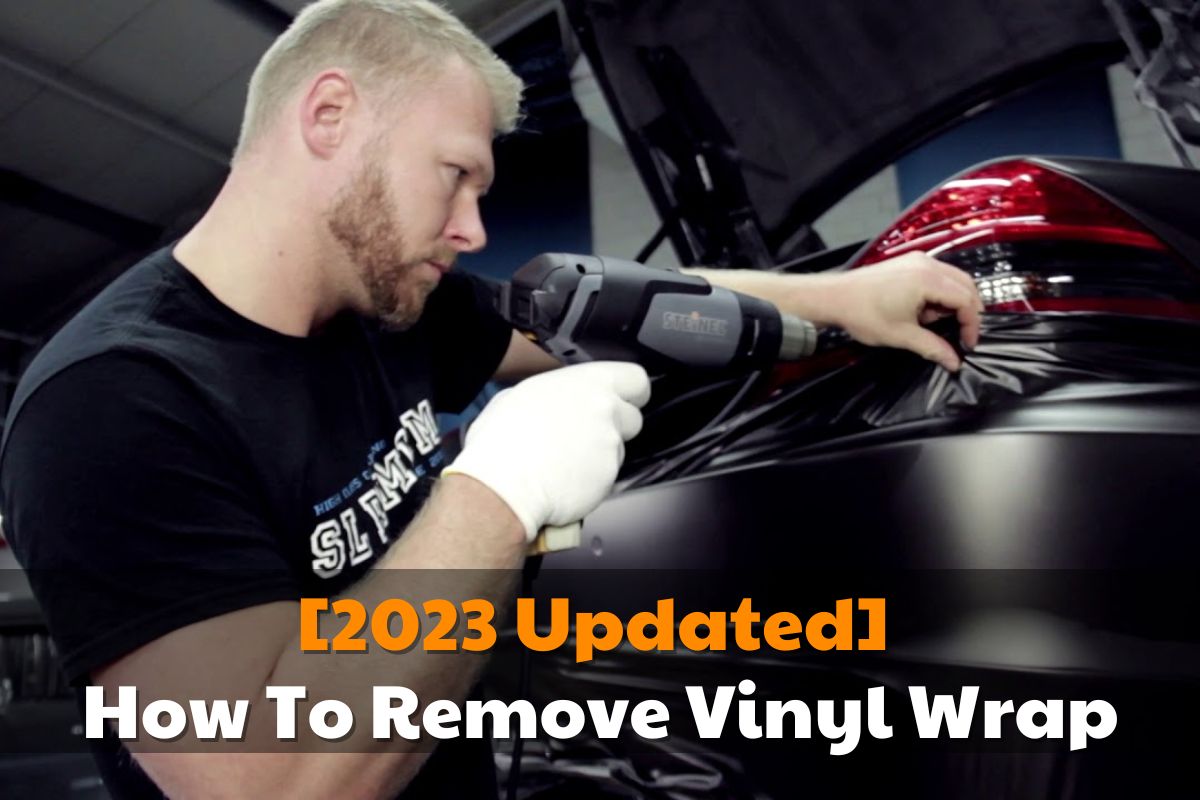
To start, use a reliable heat gun to warm up the vinyl you need to take off. Maintain a distance of at least 6 inches between the heat gun and the car’s surface, moving it in a steady back-and-forth motion. This ensures the heat spreads evenly. Avoid staying too close or focusing on one area for an extended period, as this may cause the vinyl to bubble or even burn.
The vinyl should become warm enough to touch. If it gets too hot, wearing gloves is necessary. Should the vinyl cool and harden, making it tough to peel, simply reapply heat to ease the process.
Step 4: Remove the Wrap With Care
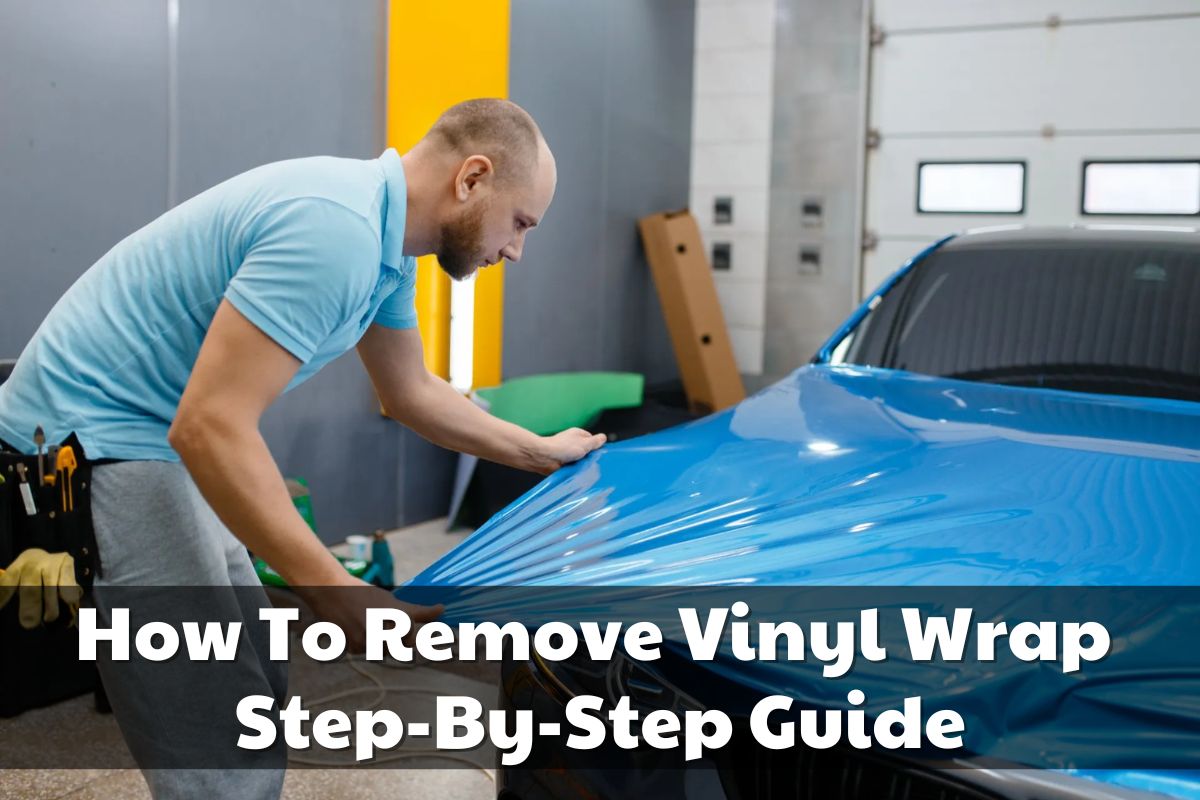
When the vinyl is sufficiently heated, slide your fingers under its edge and carefully start peeling it off. Aim to keep the angle of removal consistent, ideally around 45 degrees, to prevent the material from tearing. Rushing through this could lead to tears, resulting in more time spent on the task.
Struggling to lift the edges with your fingers alone? Utilize a plastic razor blade for assistance. Avoid using sharp objects like knives or abrasive tools that could scratch the car’s paint. Even using a credit card improperly can cause minor scratches, so handle these tools with caution.
Step 5: Clear Remaining Adhesive
After successfully removing the vinyl wrap, it’s imperative to clear any leftover adhesive from the car’s surface. Opt for a citrus-based adhesive remover like the ones offered by 3M or Rapid Tac, both of which are effective and safe for most automotive paints.
Spray the remover over any sticky spots and allow it to sit for a minute. Use a microfiber cloth to clean the surface thoroughly until it’s smooth. If stickiness persists, applying another coat of the remover might be necessary.
Step 6: Prepare for the Next Design
With the vinyl wrap completely removed, take a moment to appreciate your work. If you’re considering a new design over the original paint, now is the perfect time to start planning. For those seeking to apply a new vehicle wrap like a professional, make sure to consult our detailed guide.
If you find the process daunting, there’s no need to worry. Your vehicle deserves the best care, and seeking expert assistance is a sensible step. That’s where Brand Ink comes in. Specializing in car wraps, Brand Ink’s team is at your disposal to meet all your graphic needs, from custom design to printing, installation, and removal. Our commitment to client satisfaction and quality assurance stands at the core of our services, ensuring your vehicle transforms exactly how you envision.
Related Post


I’m Timothy Ballard, owner of a used car dealership in Springfield. I love just about everything automotive, but I have a special place in my heart for trucks. I’m an ASE Certified Master Technician, so I know my way around a car. In my spare time, I enjoy traveling with my family and hiking new trails.

Your car’s color may have a few possibilities to consider:
A layer of vinyl may still remain. Some films have multiple layers, including a thin piece of clear film with additional adhesive beneath.
Some sections of your car’s clear coat may be failing, along with the presence of glue.
The adhesive is clearly well beyond its lifespan, hardened and necessitating the use of professional-strength adhesive remover.
It’s possible that leaving the wrap on for too long may have caused damage to the paint, especially on horizontal surfaces. This is more common with lower grade vinyls.
Please note that addressing these issues may require professional assistance.