
Nothing is more frustrating than when your home increases in temperature and a strange sound starts coming from the radiator. These two telltale signs mean that you may have a clogged radiator, leaving many buyers wondering how to unclog it. We’ll show you an easy-to-follow guide on how to unclog a radiator quickly and effectively so that you can enjoy comfortable temperatures in your home as soon as possible.
Search terms: How to unclog a radiator without removing it, How to unclog a radiator at home, symptoms of a clogged radiator, how to clean a clogged radiator at home, best homemade radiator flush, how to test radiator for blockage, how to unclog radiator drain plug, radiator cleaner
Essential Tools for Clearing a Blocked Radiator
Here are some essential tools you should have:
Preparation:
- Get a 2-3 gallon bucket
- Have pliers or screwdriver ready
- Prepare plastic bottles for waste disposal
- Get a flushing solution (commercial radiator flush or baking soda for homemade solution)
- Have distilled water for flushing, rinsing, and refilling the radiator
- Get a funnel
- Have new coolant ready
How to Unclog a Radiator Step-By-Step
What to Prepare
- A bucket that can contain 2 – 3 gallons
- Pliers or screwdriver
- Plastic bottles to keep waste
- Flushing solution – either a commercial radiator flush or baking soda for making a homemade solution
- Use distilled water for flushing, rinsing, and refilling the radiator with new coolant
- Funnel
- New coolant, also known as antifreeze or radiator fluid
Step 1: Cool Down the Engine
To ensure safety while cleaning the radiator, it’s essential to let both the engine and the cooling system cool down before proceeding.
Hence, it’s recommended to park the vehicle and turn off the engine, allowing them to cool down for several hours before starting the cleaning process.
Step 2: Put a Bucket Below the Drain Petcock
Step 2: Position a Bucket Beneath the Drain Petcock
Proper disposal of used fluid is crucial when cleaning a car radiator to prevent environmental pollution and harm to animals.
To catch the fluid effectively, it’s necessary to position a bucket beneath the radiator’s drain petcock. Typically, the cooling system contains about 2 to 3 gallons of coolant, so ensure the bucket can hold this amount.
If the radiator doesn’t have a drain petcock, locate the hose at the bottom of the radiator and position the bucket under it.
Step 3: Remove the Old Coolant
To start the cleaning process, begin by opening the fill cap on the top of the radiator, followed by opening the drain petcock or removing the hose at the bottom of the radiator if no petcock is present.
Allow all the old coolant to drain out completely. In case the fluid is not flowing out, it may be necessary to use a wire brush or piece of wire to poke and wiggle through the opening to prompt drainage.
To ensure thorough cleaning, it’s important to drain the reservoir tank for the coolant as well. Detach the hose connected to the radiator cap and position it over the bucket to catch the fluid.
Finally, replace the drain petcock and hose, if detached, to their original position.
Step 4: Store the Old Coolant in Plastic Bottles
After draining out the old coolant, it’s important to store it in plastic bottles to prevent environmental pollution and harm to animals.
To dispose of the old coolant safely, consider consulting your local hazardous waste management company, service station, recycling center, or auto part store. These institutions can provide guidance on how to dispose of the old coolant properly.
Step 5: Pour the Radiator Flush Into the Fill Cap
Before flushing a clogged radiator, ensure the drain petcock is closed and the flushing solution is diluted according to the product’s instructions.
It’s best to dilute the radiator flush solution with distilled water to prevent any mineral buildup or corrosion in the system. If you prefer a DIY solution, you can use baking soda and distilled water to clear the blockage. To make the homemade solution, mix five teaspoons of baking soda with every liter of distilled water.
Once you have prepared the solution, pour it into the radiator using a funnel and then close the fill cap.
Step 6: Run the Engine for 15 Minutes
After pouring the radiator flush solution, let the engine run for 15 minutes to ensure the solution circulates throughout the system and dissolves any clogs.
It’s recommended to set the heater on the highest level while running the engine to improve solution flow. However, be cautious not to overheat the engine, which can cause damage. Monitor the temperature gauge and turn off the engine if it gets too hot.
Step 7: Drain the Radiator Again to Remove Contaminants
After allowing the engine to cool down, place the bucket back under the drain petcock or bottom hose. Open the fill cap and drain the petcock or detach the bottom hose to flush out the contaminants.
Step 8: Rinse Down the Radiator’s Insides
To confirm that the radiator is no longer clogged, flush the inside with distilled water. This will prevent the formation of scale or corrosion in the system.
You can confirm that the radiator is unclogged when the water flows out of the radiator smoothly and clearly.
Step 9: Top up the radiator with fresh coolant and distilled water
To refill the radiator after fixing a clogged radiator, it is important to use a mixture of new coolant and distilled water. The ratio of antifreeze to water should be 50/50, although pre-diluted coolants are also available. To determine the best type of radiator fluid for your vehicle, consult the car manual or inquire at your local dealership.
Step 10: Run the Engine for 15 Minutes Again
In the final step, the engine must be run again for 15 minutes while the heater is set to maximum heat to allow the new radiator fluid to circulate and remove any air pockets. It’s important to keep an eye on the coolant level during this process, as it may drop and require topping up.
It’s also crucial to monitor the temperature gauge and immediately stop the engine if it starts to overheat, which could be due to insufficient coolant or air in the system.
Symptoms of a Clogged Radiator
A clogged radiator can cause a variety of symptoms that can impact the performance of your vehicle’s cooling system. Here are some common symptoms of a clogged radiator.
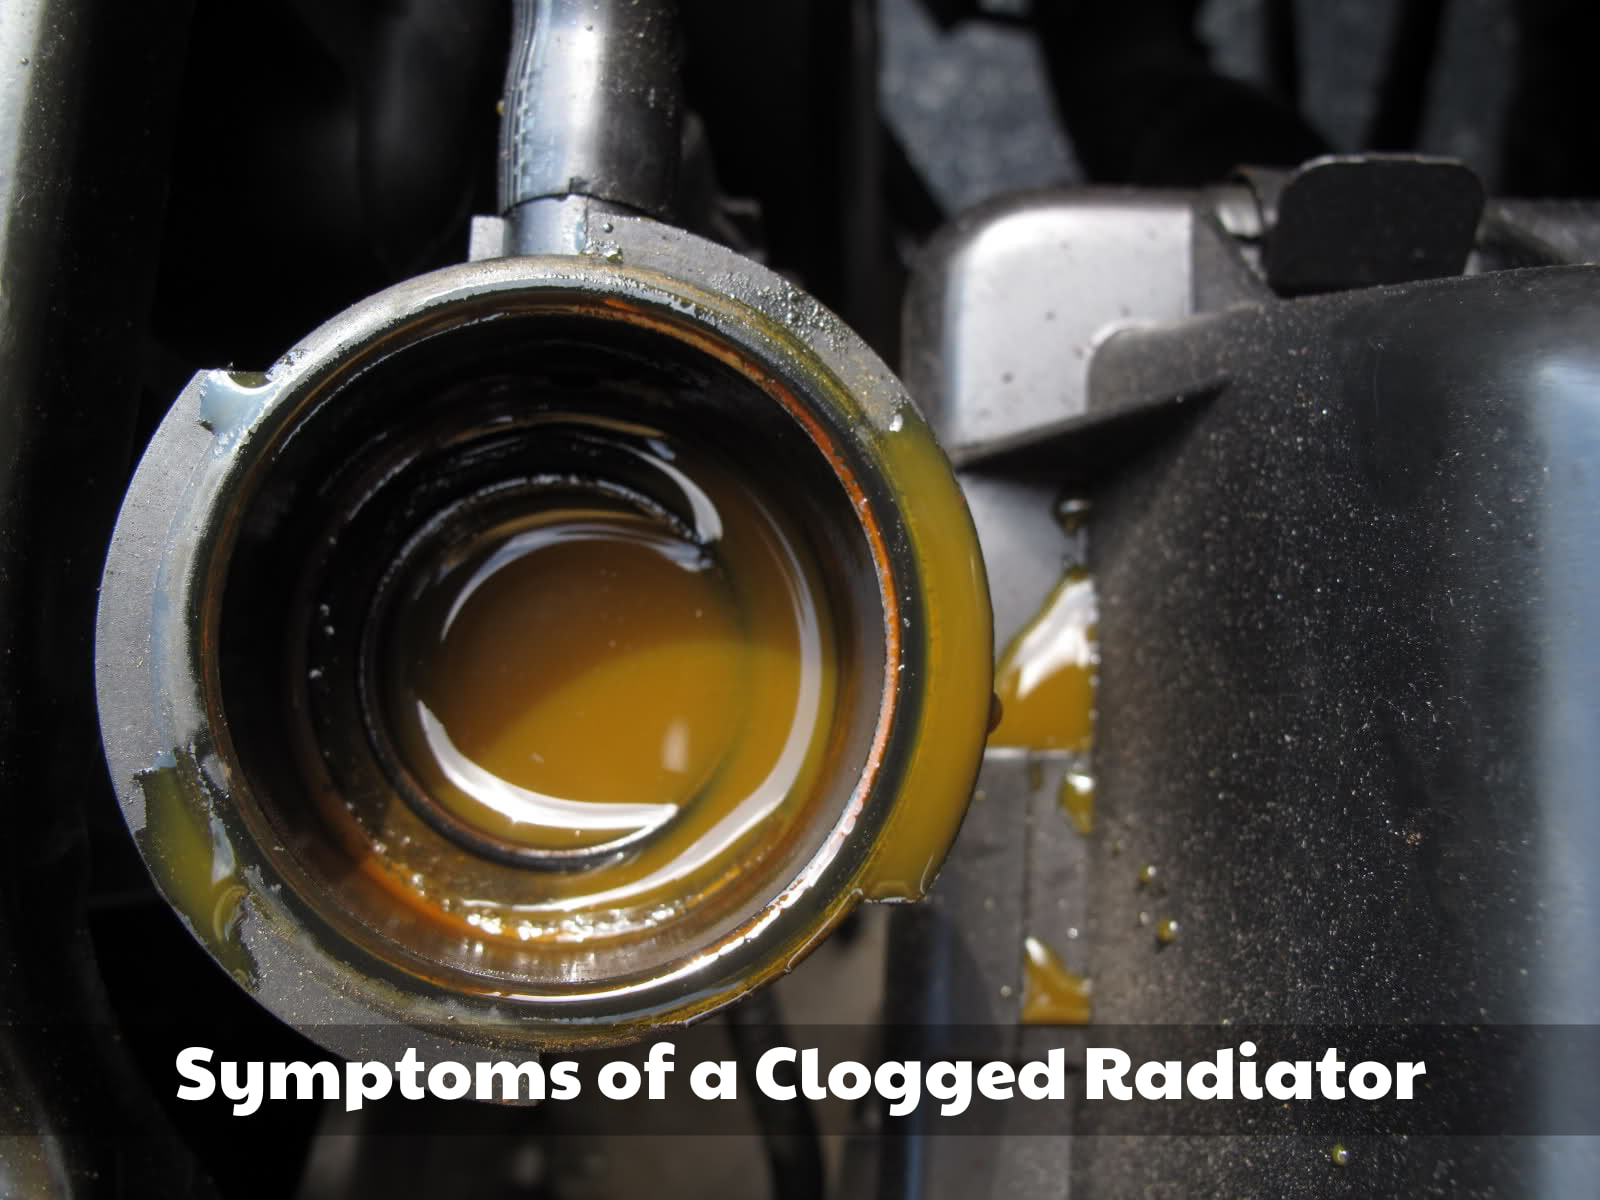
While these symptoms may not definitively point to this issue, they can help you narrow down the potential causes of your vehicle’s problems:
Leaking Coolant:
Leaking coolant can cause serious damage, both short-term and long-term. If you notice any drops along your driveway or garage floor accompanied by a sweet smell, it’s important to take this as an indication that coolant is leaking somewhere. Steams emanating from radiator tank seams are also a sure sign, which means the radiator fins have become corroded beyond help or have become totally clogged. Without quick action, these faulty fins can cause permanent damage to your car’s radiator system, so if signs of leaking coolant appear, take action right away.
Engine Overheating and Temperature Warnings:
Engine overheating can be a major problem, and often it’s the radiator that is responsible. When you notice the needle on your temperature gauge gravitating more toward the red zone than usual, you should investigate the issue right away.
Of course, during summer months temperatures are quite naturally hotter which can move that needle closer to red, but if this occurs consistently no matter what time of year it is then it may be an engine issue worth addressing. Engine overheating can cause a lot of damage, so it’s important to consider implementing solutions quickly to protect against any serious harm.
Discolored Coolant:
Keeping an eye out for the color of your coolant should be a regular practice when it comes to radiator maintenance.
It’s important to be on the look out for discolored coolant, as it’s one of the most obvious signs that your radiator is at risk of damage and dangerous contaminants. Normal coolant is typically bright green or yellow, thus any rust or oil-like colors are warning signs in need of further investigation.
Additionally, if the texture of the coolant becomes thicker than usual, there may be a sediment buildup that can clog your radiator and cause major issues.
Damaged Water Pump:
A damaged water pump is one of the most common symptoms of a clogged radiator. Without the proper coolerant flow through the radiator, friction builds up between the metallic parts, causing pressure and grinding that leads to water pump damage.
Passenger Area Heaters Not Working:
Are you shivering in your car even though the cabin heaters should be working? It might be time to check and see if your radiator is clogged! The passenger area receives its warmth from hot coolant, which passes through the heater core and is blown by fans into the cabin.
When a radiator becomes clogged, less hot coolant can pass through, resulting in inadequate warmth for the interior of your vehicle. Rather than band-aiding the problem with extra layers, it’s worth investigating How to unclog a radiator and ensure comfortable temperatures all winter long!
Common Causes of Clogged Radiators
If you own a radiator, chances are that you know the hassle and expense of unclogging it when it stops working properly. Unfortunately, many of us don’t understand what causes the issue in the first place. To help out, here is an overview of the three most common causes of clogged radiators:
Old Coolant or Radiator Fluid:
Common causes of clogged radiators are old coolant or radiator fluid. Over time, contaminants and rust can form in your vehicle’s fluids, leading to blockages in the pipes and fins of the radiator. To prevent this from happening, I suggest changing the fluid every two to three years. With regular maintenance, your engine will be sure to run smoothly and efficiently for many more miles!
Outside Elements:
Keeping your radiator clean from outside elements is essential if you want to keep it working its best. Dirt, leaves, sand and insects – these are some of the most common causes of clogged radiators; fin tube are extremely delicate and can bend or break easily.
In order to avoid this from happening, proper maintenance and regular cleaning should be done. This will help to ensure that the radiator remains in good working condition for years to come!
Inappropriate maintenance
When it comes to radiators, it’s not only outside factors that can cause damage. Improper maintenance can also lead to problems like a clogged radiator.
If the water jet used is too strong, it could twist or bend the sensitive fins. To avoid this, you want to take caution when attempting to clean and unclog your radiator – always do so gently!
Conclusion
I believe this article has clearly explained how to flush a clogged radiator. So, next time you notice any signs indicating a clogged radiator or clogged heater core, you can easily flush it out without seeking the help of a professional mechanic. Now you have the answer for the question how to unclog a radiator.
Thanks for reading and feel free to share this guide with your friends who might find it useful!

I’m Timothy Ballard, owner of a used car dealership in Springfield. I love just about everything automotive, but I have a special place in my heart for trucks. I’m an ASE Certified Master Technician, so I know my way around a car. In my spare time, I enjoy traveling with my family and hiking new trails.
For evaluation and repair of your vehicle, consider taking it to a professional radiator shop or a reputable garage. These establishments are equipped with specialized equipment to thoroughly test your car’s cooling system.
To effectively drain the coolant from your radiator, follow these steps:
Begin by opening the drain valve located at the bottom of your radiator. This will allow the coolant to flow out.
Next, proceed to drain the coolant from your engine block as well. Open the block drain to ensure a thorough draining process.
After completing the draining process, it’s time to introduce the purchased radiator flush into the radiator. Pour it in and let your car run.
Finally, drain the coolant just as you did with the old coolant. This will leave your car clean and refreshed.