Are you a first-time car owner and don’t know the difference between lug nuts and hubcaps? Do you feel completely overwhelmed at the thought of changing your tires?
In this blog post, we discuss all aspects of how to put tires on rims (With and Without a Machine) so that you can tackle any challenge with confidence. Get ready for an informative yet straightforward guide and your new “how-to” skill set!
Do you have any tips or tricks for mounting a tire on a rim? I am having some difficulty and would greatly appreciate your guidance.
Search Terms: how to put tire on rim without machine, how to put tire on rim with machine, how to put a tire on a rim by hand, how to put tire on rim bike, how to put a tire on a rim at home, how to put tire on rim with fire, put tires on rims near me, how to put a tire on a car, How to put tires on rims without tools, How to put tires on rims at home
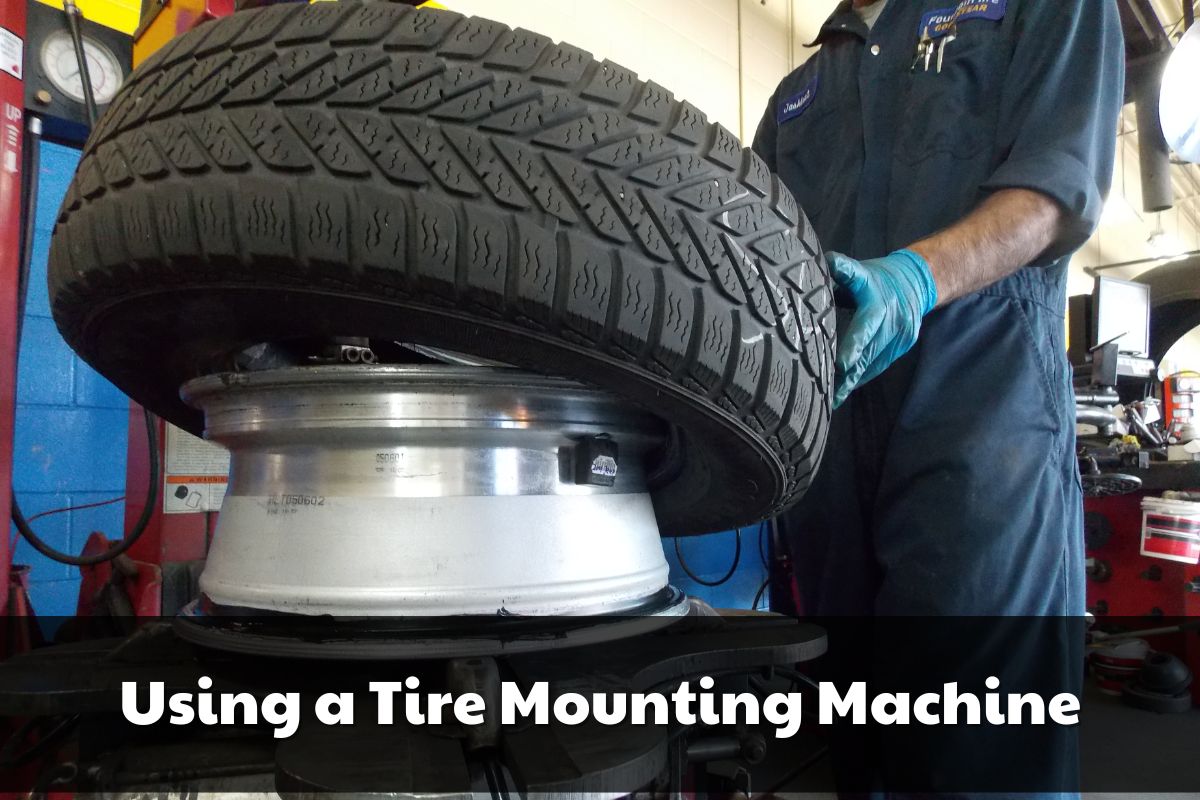
Method 1: Using a Tire Mounting Machine
1. Lubricate the bead and rim edge
Whether you’re a professional mechanic or just someone looking to change a tire at home, using a high-quality tire lubricant can help make the job easier and more efficient.
Don’t be tempted to use dish soap or automotive grease, as these may not provide enough lubrication and could potentially damage your wheel. Instead, pick up a bottle of tire lubricant from your local auto parts store and apply it liberally to the inner lip of the tire and outer edge of the rim.
Related: How Long Do Rotors Last?
2. Install the valve stem
One crucial step in the process involves installing the valve stem. This small piece plays a big role in inflating the tire once it’s mounted onto the rim. It’s easy to install- simply locate the hole on the interior of the rim and insert the valve stem from the inside so it pokes out through the outside.
Pull it through with a pair of pliers until it’s firmly in place. Adding lubricant to the valve stem beforehand can also help.
3. Place the rim on the tire machine
Place the rim on the machine facing up and engage the hydraulic press by pressing the associated pedal. Don’t forget to rotate the rim with the other pedal, if applicable.
If you’re unsure about the process or your machine, refer to the owner’s manual or manufacturer’s website for guidance.
4. Slide the tire over the rim on an angle
Create a 45-degree angle by making sure that the bottom edge of the tire is lower than the top edge of the rim on one side. Start with one bead beneath the rim’s edge and ensure that there is enough space for the mounting arm to be slid into the gap created by the angle.
5. Lowering Mounting Arm onto Rim’s Edge
This allows for the arm to serve as a pry bar to force the rest of the tire over the lip of the rim. It’s important to position the arm in the same spot where the tire has already angled to get past the edge.
If you encounter difficulty getting the arm in at that spot, simply readjust the tire to give yourself more room.
6. Angle the tire so the lower bead is aimed at the mounting arm
Aim the lower bead at the mounting arm and adjust the tire if necessary. Paying attention to the angle helps the mounting arm press the lip down past the rim’s edge as it rotates.
While the tire’s natural position on the rim is usually spot on, it’s always best to check and ensure proper placement. If the tire falls off the rim, it’s an indication that the angle is not correct, so take the time to adjust it properly.
7. Rotating the Rim and Tire with the Pedal
As they spin, use the mounting arm to force the bottom bead of the tire over the rim’s top edge. Don’t stop until they complete one full circle and the tire’s bottom bead is entirely past the top lip of the rim.
It may appear as though the tire is only halfway mounted, but that’s okay. The top bead is what holds it in place, preventing it from fully setting onto the wheel.
8. Repositioning the Mounting Arm
Repositioning the mounting arm is an important step that can make or break the process. Guiding the tire’s upper lip onto the rim will require some effort, and using your hands to press one side of the tire down is a good starting point.
Once you’ve created some space, lower the mounting arm onto the rim’s edge, making sure it sits at the right angle. Depending on the tire’s size and shape, you may need to use a pry bar to get it into the right position.
9. Press the pedal to rotate the tire and rim again
Pressing the pedal to rotate the tire and rim may seem like a strange technique, but it’s an effective one. As the wheel and tire rotate, the mounting arm will force the tire’s upper bead down over the lip of the rim.
In just one full circle, both the upper and lower beads of the tire will have passed the rim’s upper lip. It’s important to take your time during this step to ensure the tire is securely mounted.
10. Inflate the tire with an air compressor
The last step in the process is inflating the tire with an air compressor. This may seem like a simple step, but it’s important to be cautious. Before turning on the compressor, make sure your hands and clothing are clear of the tire to avoid getting pinched as the tire expands.
Once the flow of air begins, the tire will rapidly inflate to the proper air pressure. With this step complete, your newly mounted tire is ready for the road
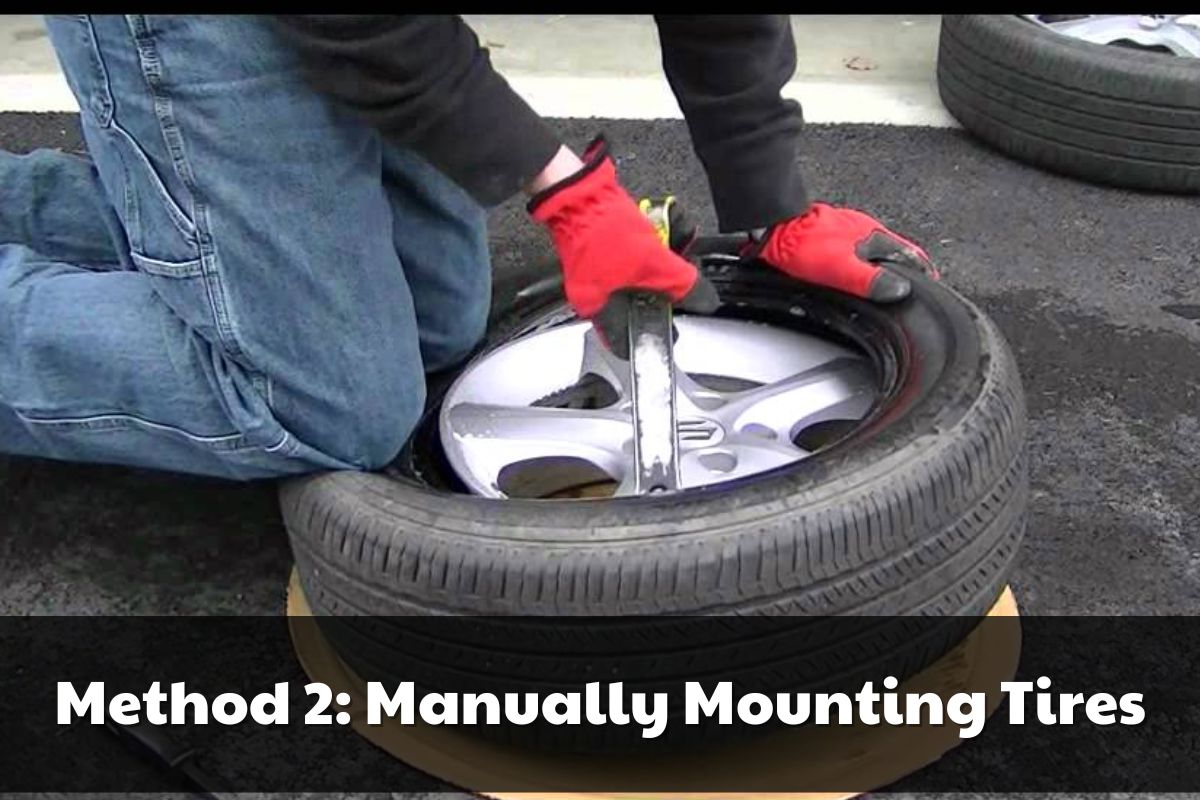
Method 2: Manually Mounting Tires (without machine)
1. Installing and Seating the Valve Stem in the Rim
If you don’t have access to a tire changing machine, there are still ways to successfully mount your tires onto rims. The first step is to ensure that there is a valve stem in place. If there isn’t, lubricate the area and carefully insert the stem. The next step is to make sure the stem is securely in place by pulling it outward until it’s snugly seated in the rim hole.
2. Applying Tire Lubricant for Hand-Mounting Tires
Tire lubricant helps reduce friction between the rim and tire, making it easier to mount them manually. Apply the lubricant along both the inner and outer beads of the tire. This will facilitate manual mounting and make it significantly easier to get the tire onto the rim.
Once you’ve applied enough lubricant, slide one side of the tire onto the rim and work your way around until you reach its starting point. You’ll want to use your hands or a rubber mallet to press it into place as evenly as possible.
3. Lay the rim flat on the ground and place the tire on top of it
To avoid any scratches on your wheel, place a piece of cardboard beneath the rim if you are working on a hard surface.
It’s important to ensure that the surface you work on is flat, level, and secure. With the tire resting on top of the rim, ensure it is sitting flat and snug against the rim’s upper lip.
4. Pressing the Lower Lip of the Tire onto the Rim
Step on the tire with both feet to press the lower lip onto the rim. Have your friend lend a hand for balance as you step up onto the tire on one side and then bring your other foot up to apply pressure on the other side. The key is to force the bottom bead of the tire down over the top lip of the rim, which may require some hopping and downward force.
5. Applying Lubricant to the Upper Bead of the Tire and Rim
One of the most challenging aspects is getting the upper bead to seat properly on the rim. This is where lubricant comes in handy. By applying more lubricant to the upper bead and rim, you can help to maneuver the rubber down and over the metal with ease.
While the lower bead won’t require any extra lubrication, it’s essential to ensure you have plenty on hand for the upper section of the tire.
6. Lower the Upper Lip of the Tire onto the Rim
This may seem simple enough, but it’s crucial to angle the tire correctly so that one part of the upper bead is below the rim’s edge. If the tire doesn’t quite make it past the lip on its own, don’t worry. You can press down on the lower portion of the tire or even use a pry bar to create the necessary gap. Just make sure to keep the pry bar in place once you’re done.
7. Using a Pry Bar to Mount the Tire onto the Rim
Be sure to move around the wheel, pressing down onto the tire with your hands and using the pry bar to guide the bead over the upper lip of the rim. It’s important to be careful and avoid scratching any visible metal on the rim.
By the time you make it all the way around the wheel once, both the tire’s upper and lower beads should be completely past the rim’s lip.
>>>Related: How long does an alignment take
8. Inflate the tire with an air compressor
Once the tire is securely mounted on the rim, it’s time to add some air. But not just any air compressor will do. It’s important to ensure that you have an air compressor that can properly inflate your tire. As you add air, be sure to keep a close eye on the pressure gauge so you can reach the correct PSI for your vehicle.
But safety should always come first. Be sure to stay clear of the tire bead as it inflates, keeping your fingers and clothing out of harm’s way.

I’m Timothy Ballard, owner of a used car dealership in Springfield. I love just about everything automotive, but I have a special place in my heart for trucks. I’m an ASE Certified Master Technician, so I know my way around a car. In my spare time, I enjoy traveling with my family and hiking new trails.
Title: Tips for Installing Tires on New Rims
Hello everyone,
I recently ordered new alloy rims for my car and I am planning to remove the tires from my old rims and install them on the new ones myself. I would greatly appreciate any advice or suggestions you have regarding this process.
Here are a few specific questions I have:
Are there any special tools or equipment that I will need for this task?
What should I be aware of in terms of the TPMS (Tire Pressure Monitoring System) during the installation?
After completing the installation, is it necessary to have my wheels professionally balanced?
Thank you in advance for your help and guidance!